New event: the four creation steps
Creating an event starts in the event wizard: four steps — Basics, Details, Program and Review — that take you from a title and a package to a saved draft you can keep working on. This page is the map of that wizard: how to get into it, what each of the four steps asks for, and how to move between them.
Only the first step needs attention now. Details, Program and Review each have their own page in this section, and anything you leave unfinished can be added afterwards by editing the event.
Who can create an event
Any signed-in Backoffice account can open the wizard and create an event. There is no role to obtain and no company to own first — although connecting an organizing company is part of the Details step, and a company you manage is what fills it in.
Nothing in the wizard depends on a paid package. What the package decides is which features the finished event can use, and a Free event goes through exactly the same four steps.
Where to start
There are two ways in, and both open the same wizard at /en/events/create:
- Events (
/en/events) — the round + button in the bottom-right corner. It is titled Create Event. - All Events (
/en/dashboard/events) — the Add Event button in the header, next to Add Company.
The wizard keeps the step you are on in the address (?step=), so a link you bookmark or share opens that step again — provided you have already reached it.
The wizard header
Every step sits under the same three lines:
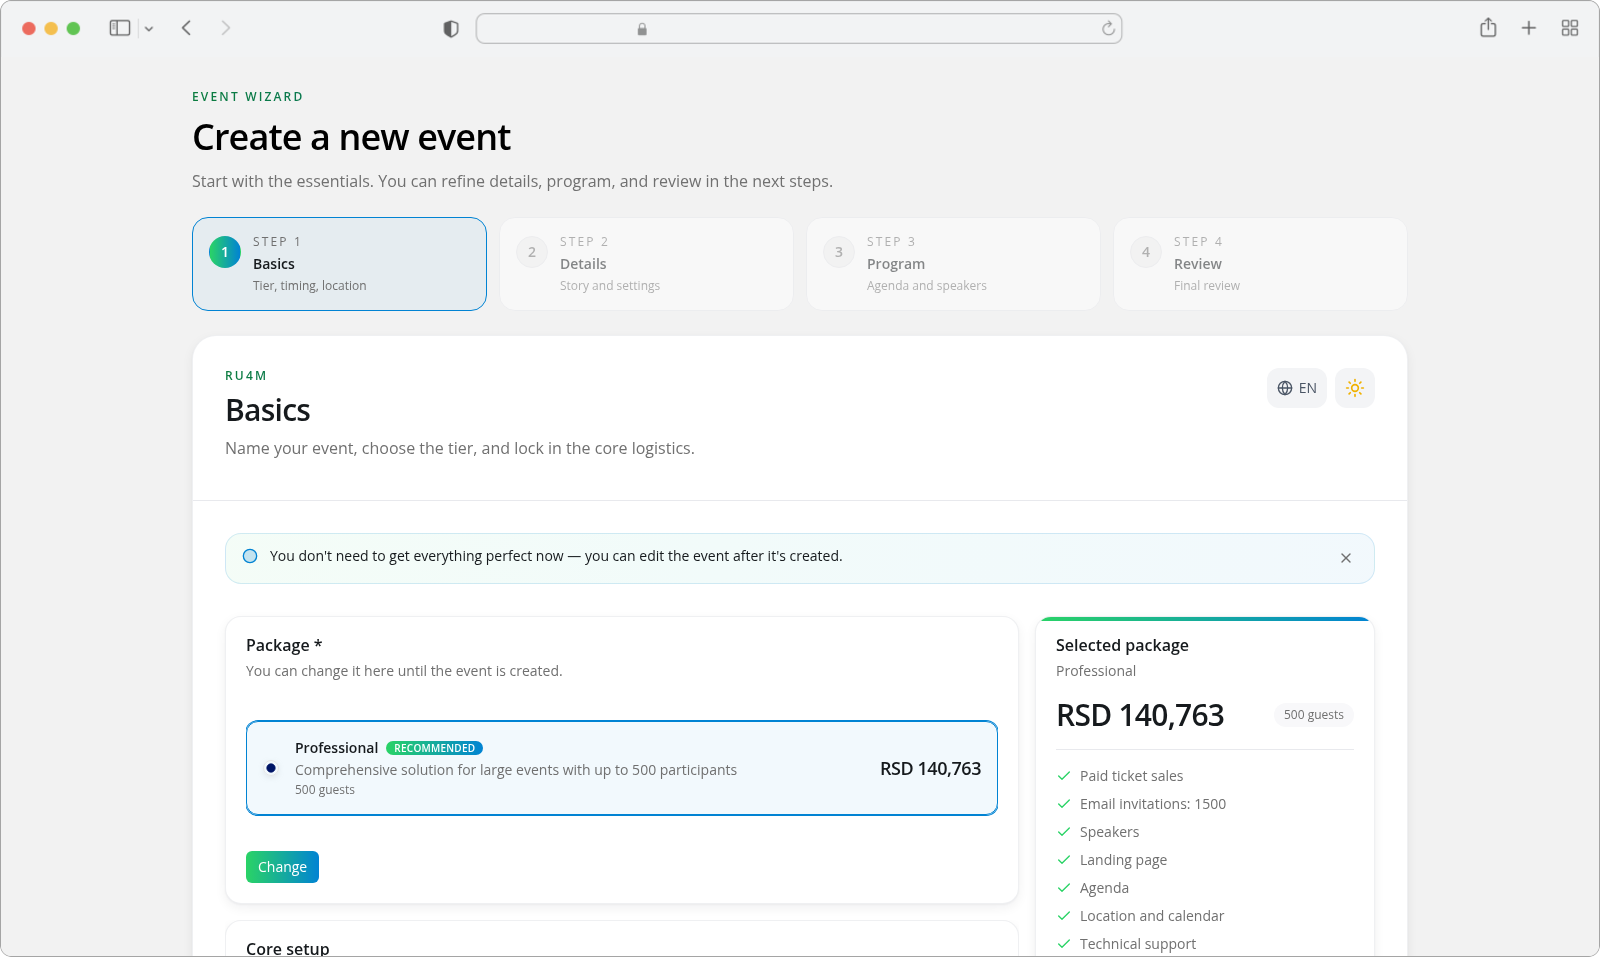
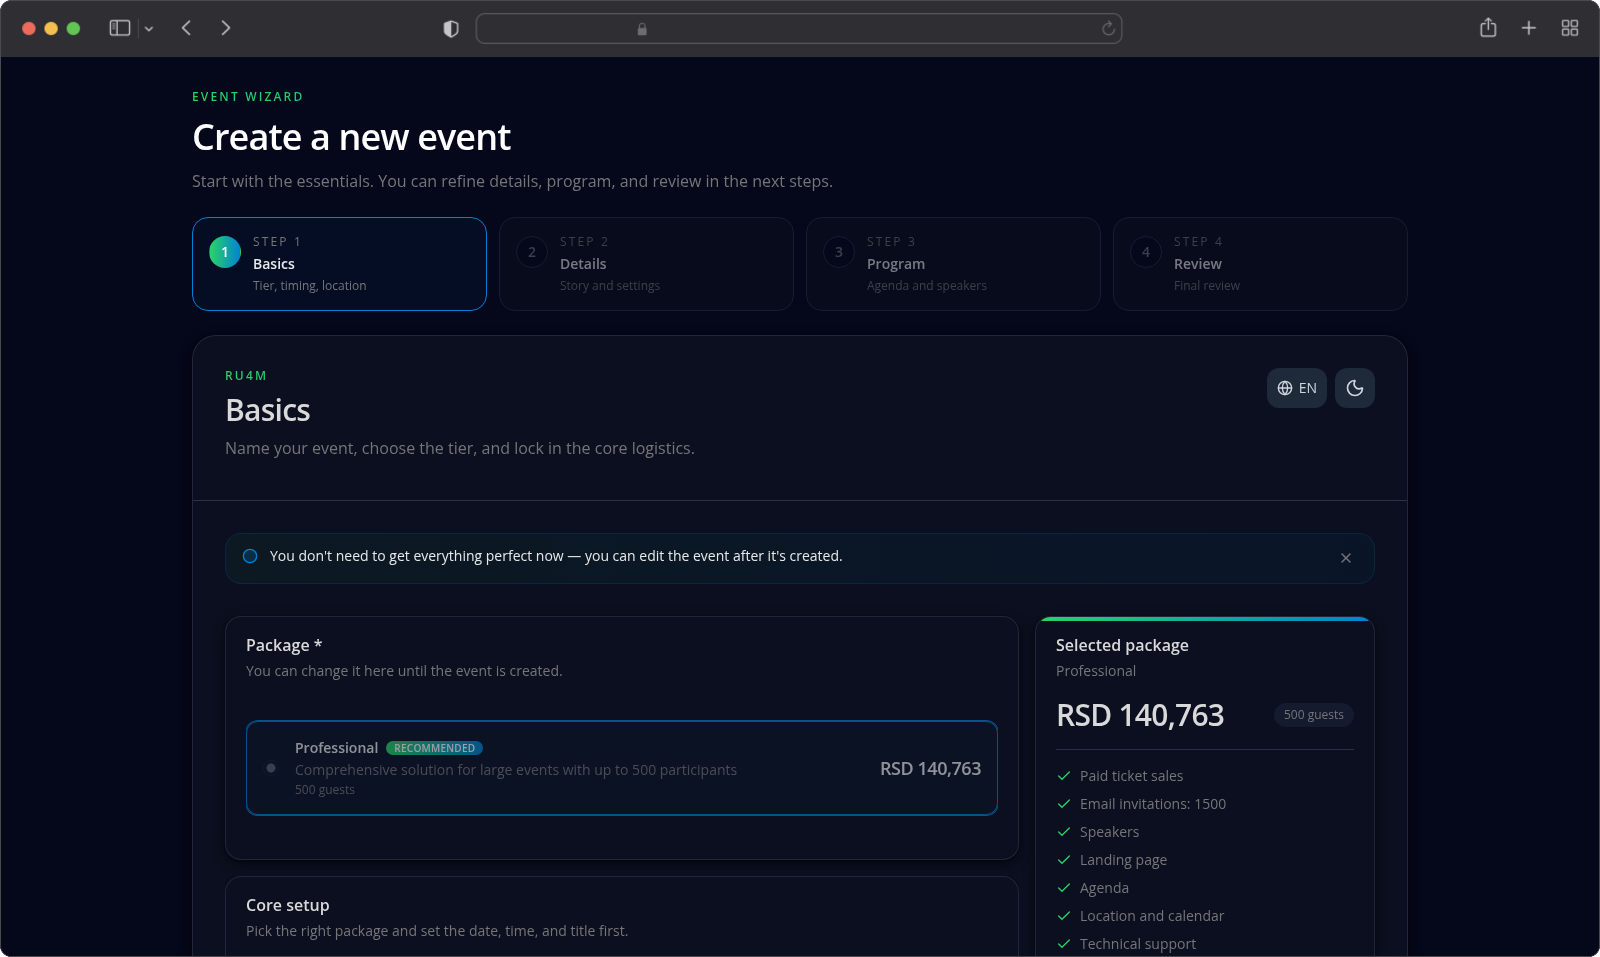
- Event wizard — the small label above the title
- Create a new event
- Start with essentials. You can refine details, program, and review in the next steps.
The four steps
The indicator under the header names each step with its number and a one-line summary, in this order:
| Step | Summary | What it collects |
|---|---|---|
| 1 Basics | Tier, timing, location | The package, the title, when and where the event happens, interests, the cover image and whether it is private — everything the other steps need to exist |
| 2 Details | Story and settings | The short summary, the full description, the organizer and the publishing settings |
| 3 Program | Agenda and speakers | Rooms, sessions, their times and the speakers on stage |
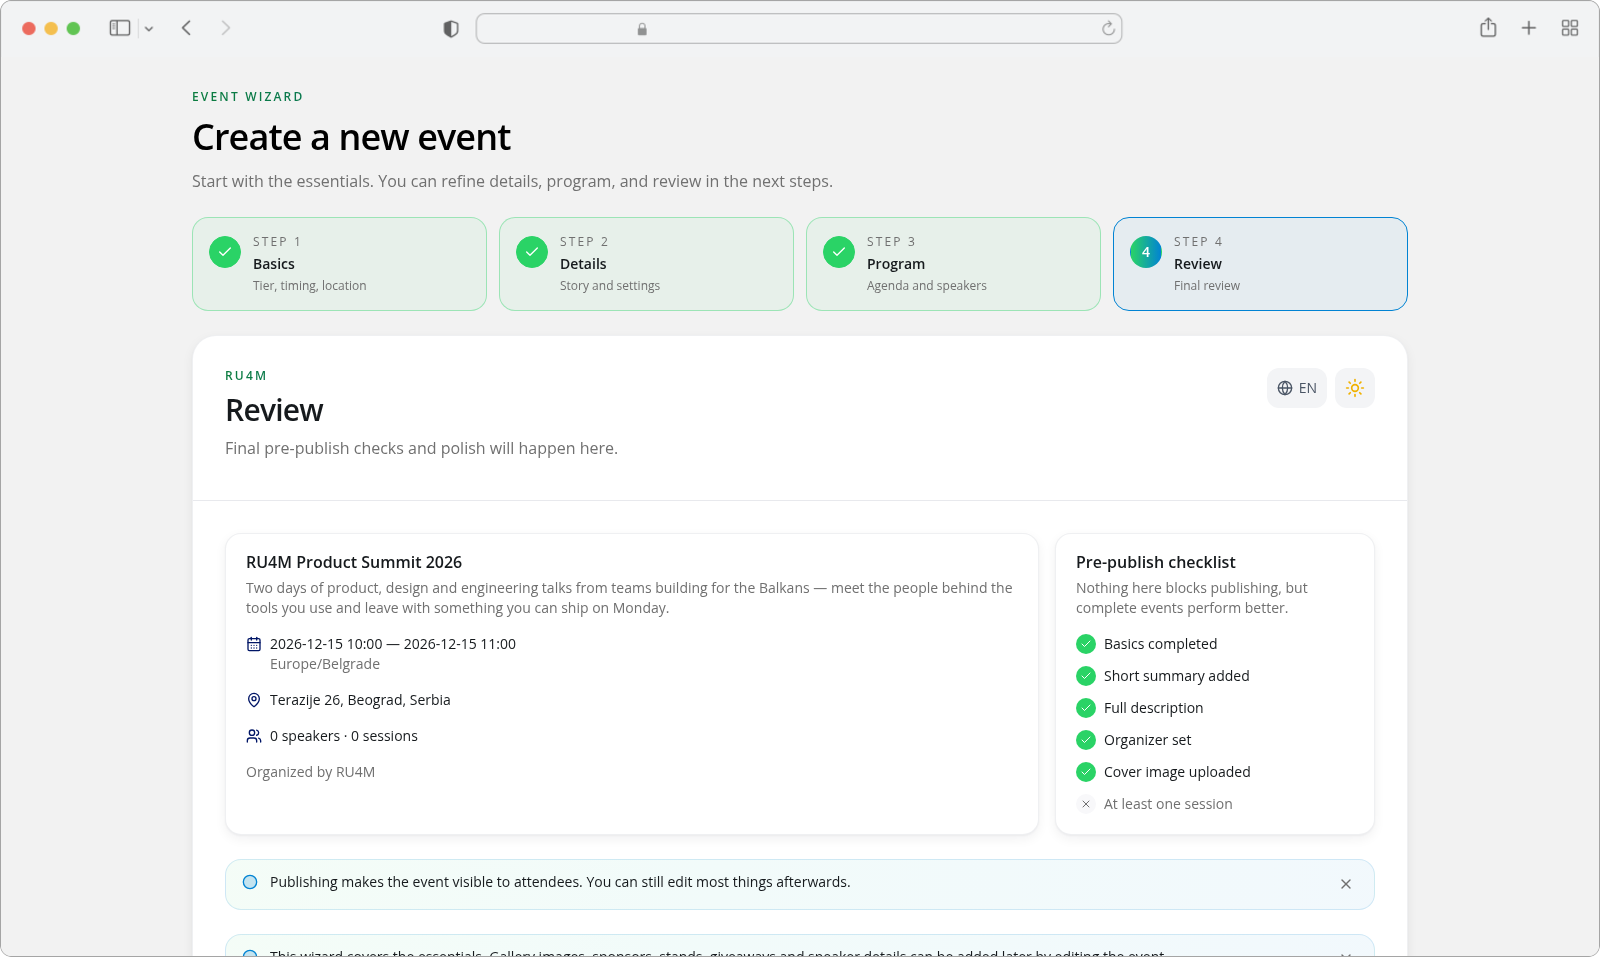
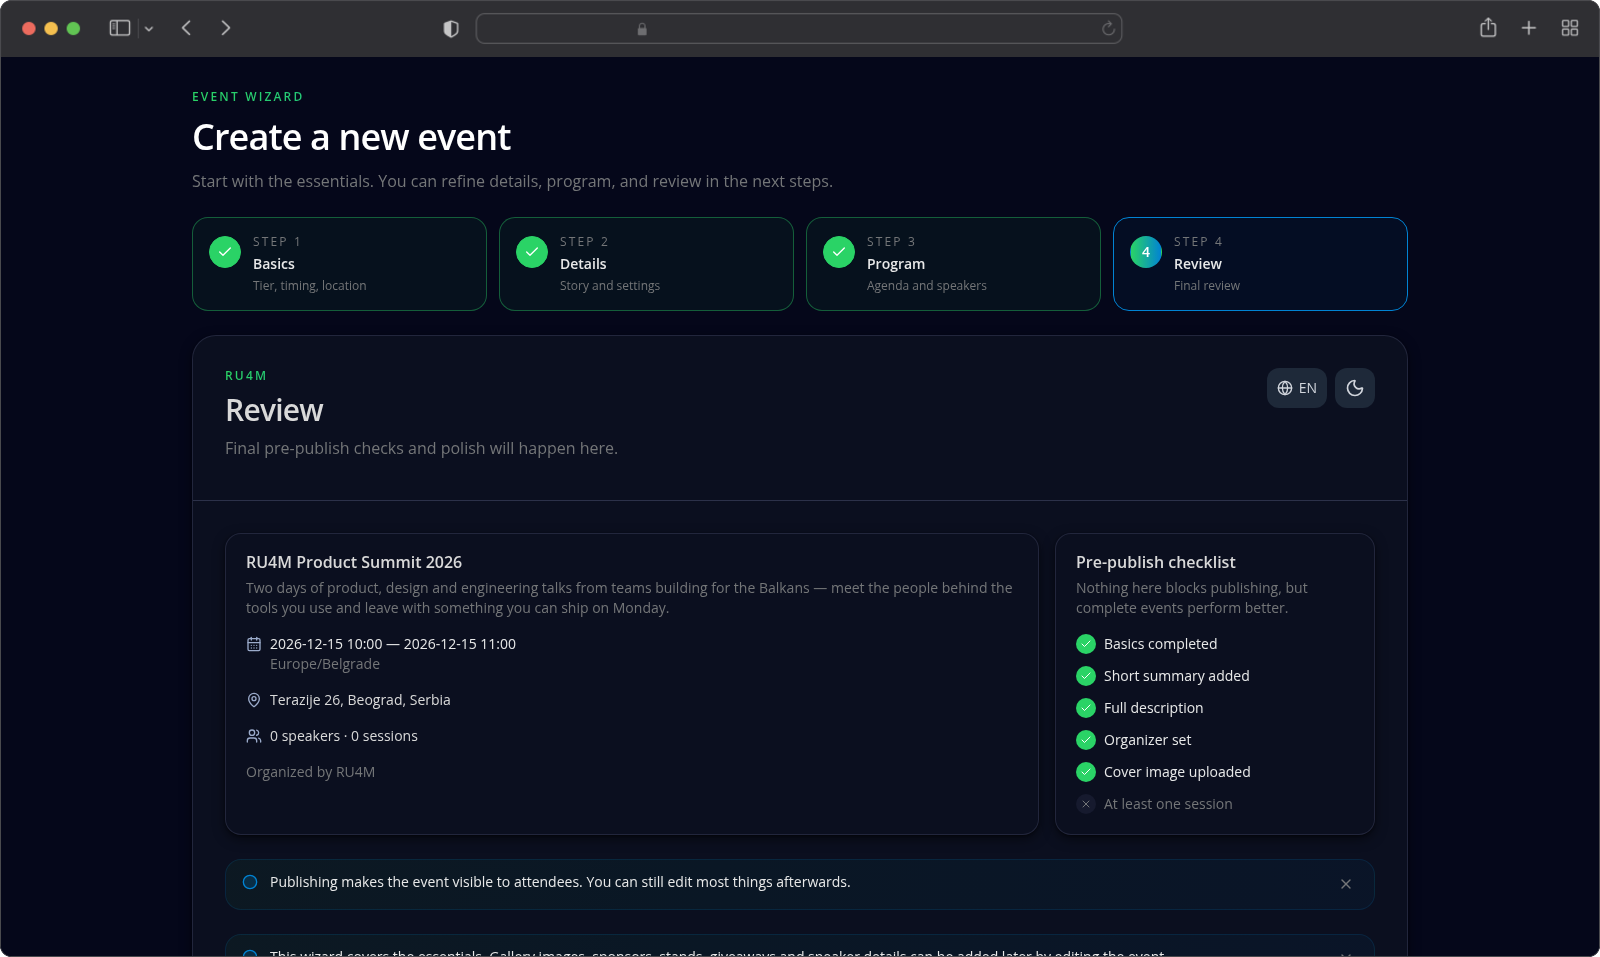
| 4 Review | Final review | A pre-publish checklist and the buttons that publish the event or leave it a draft |
On a desktop screen each of the four is a tile you can click once you have reached it — the tiles you have not visited yet are greyed out and ignore the click. On a mobile screen the indicator is only the step name, a Step 3 / 4 counter and a progress bar, so you move with Continue and Back alone.
Step 1: Basics
Everything on this step is required before you can press Continue. The sidebar on the right carries a Step 1 checklist — "These are the essentials required to open the rest of the wizard." — alongside the package you picked and, underneath it, your chosen interests, your location (or Location still missing) and whether the event is Public or Private.
| Field | What it needs |
|---|---|
| Package | The one thing Basics asks for first. It can be changed here until the event is created — see Packages and tickets. |
| Event title | 1–100 characters. Shown everywhere the event appears. |
| Start date and time, End date and time, Timezone, Location | When and where — each covered in Dates, timezone and location. The end must be after the start. |
| Interests | Between 1 and 3, so the event can be discovered by the right attendees. |
| Cover image | Uploaded in the Cover image card; it is saved right after the event is created. |
| Privacy | One switch, on meaning private — covered in Event visibility. |
The wizard says so itself: You don't need to get everything perfect now — you can edit the event after it's created.
When you press Continue for the first time, this step is validated, the event is created as a draft, and the remaining steps unlock.
Steps 2 and 3: Details and Program
Open either one before the event exists and the step does not show its fields. It shows the hint Create the event in the Basics step first — then this step unlocks. with a single Go to Basics button in the footer, in place of Continue.
So the wizard has one rule: Basics first, everything else after. Complete Basics, press Continue, and both steps open with their own fields and their own Back and Continue.
Step 4: Review
Review gathers what you have filled in, shows a pre-publish checklist and offers the last two actions: Finish later, which leaves the event a draft, and Publish event — or Proceed to payment on a package that costs something. What actually blocks publishing, and how a draft behaves until you publish it, is covered in Draft, review and publication.
Moving around: Back, Continue and the step tiles
- Continue validates the current step and moves to the next one.
- Back returns to the previous step. It is greyed out on Basics, the first step — there is nothing before it.
- The step tiles jump straight back to any step you have already reached, in either direction. They are the quickest way back to a field you want to correct.
If you leave the wizard with changes you have not saved, a confirmation dialog appears before you go, titled Discard unsaved changes? with the line Your changes will not be saved if you leave this page.
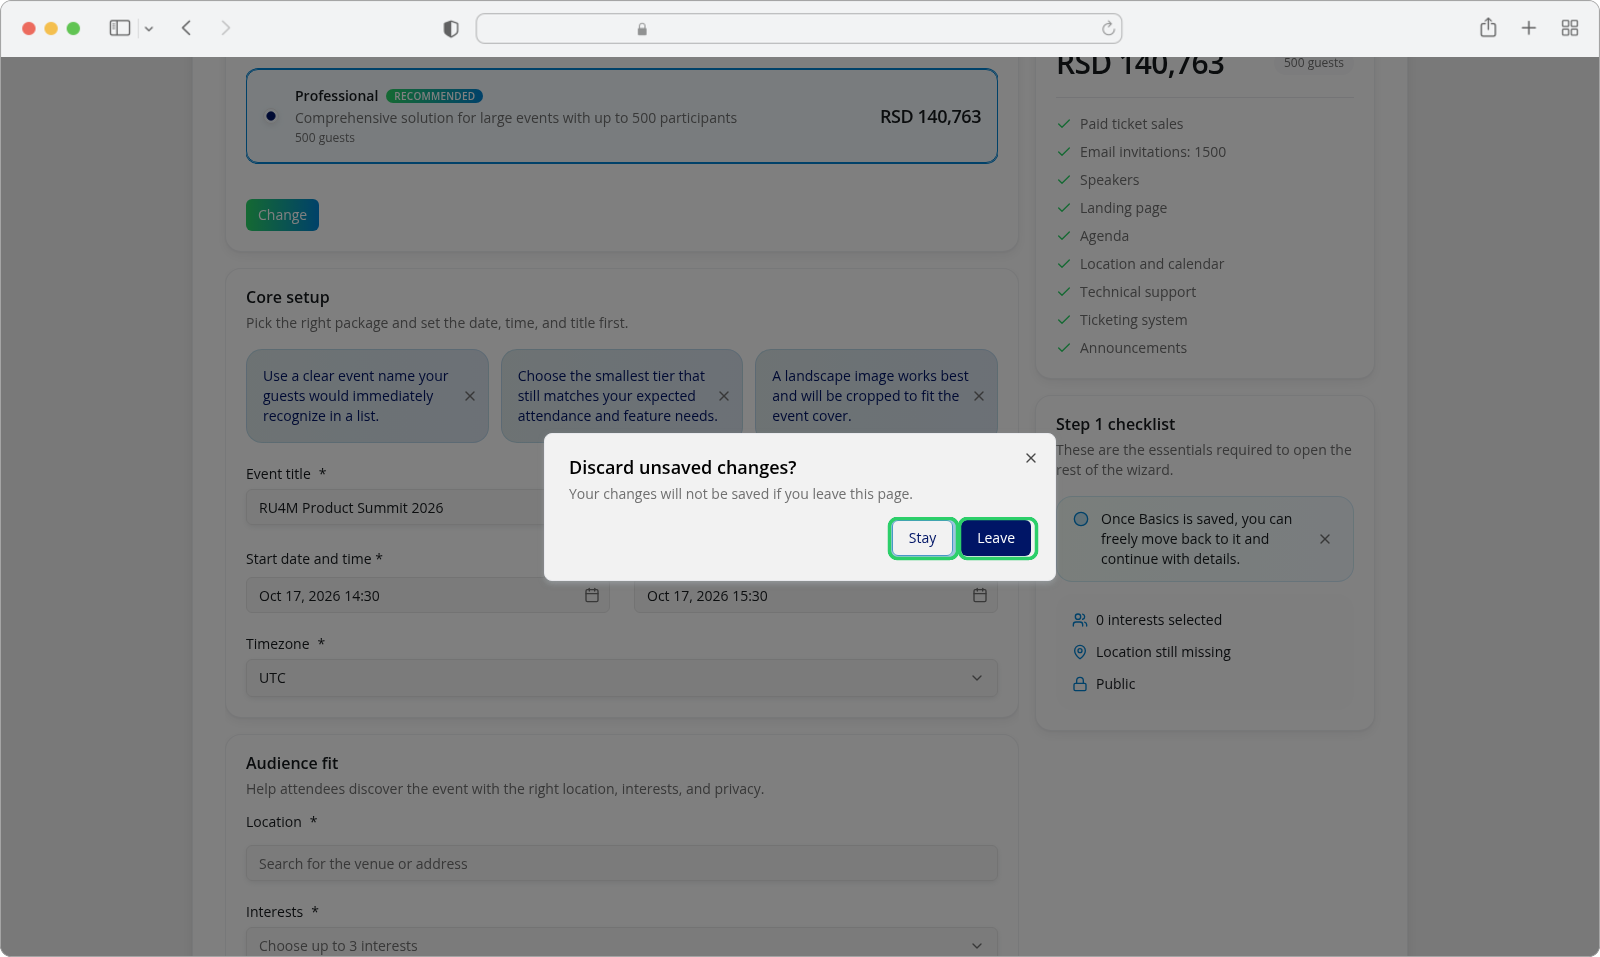
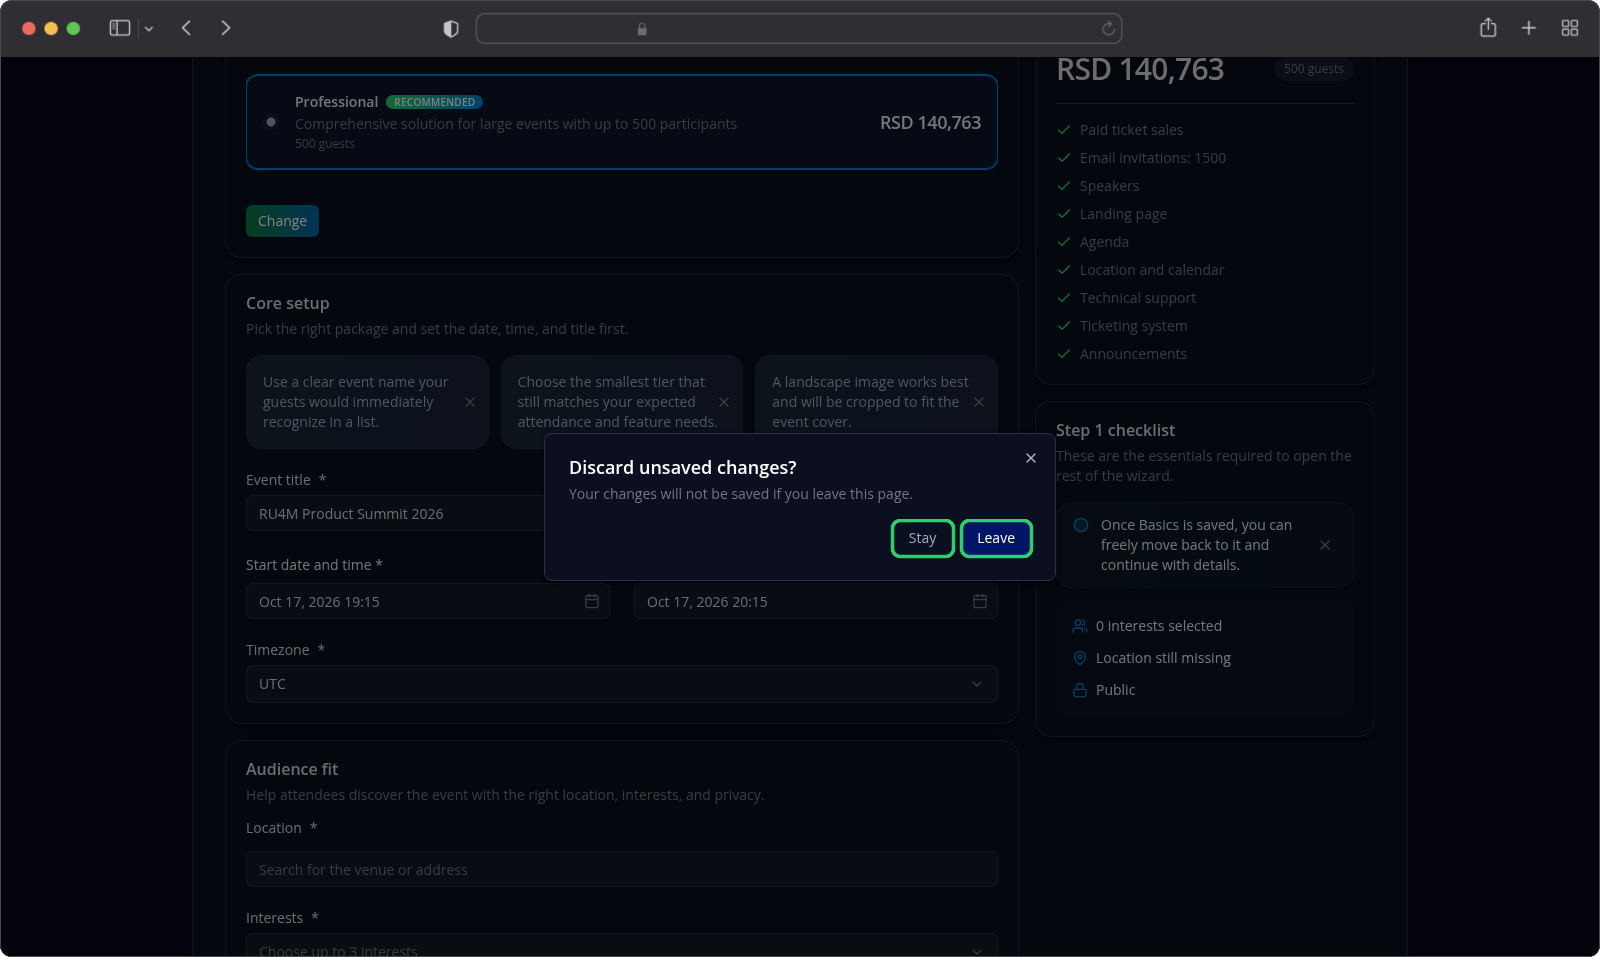
Stay keeps you on the step with everything you typed. Leave goes ahead and discards it.
Only Basics arms this warning — an edit on Details or Program leaves without asking. And the dialog belongs to the page rather than the browser: the browser's own Back button skips it and returns you straight to where you came from, while closing or reloading the tab raises the browser's generic Leave site? prompt instead.
What you get at the end
A new event is always created as a draft: it exists, it is yours, and it is not yet visible to attendees. You can leave it that way and come back — through the wizard itself or through Edit event content — or publish it from the wizard or from the event's page. The whole of that is Draft, review and publication, and what a published event looks like to somebody outside the Backoffice is in The public event page and sharing.
If something goes wrong
| What you see | What it means | What to do |
|---|---|---|
| Continue does nothing and a message appears under a field | A required field on Basics is missing or invalid — each one names itself. | Fill the named field. The sidebar checklist shows what is still outstanding. |
| Please add a cover image before continuing | The cover image is required before the event can be created. | Upload a PNG, JPG, JPEG or WEBP file under 25 MB. |
| Details or Program shows only Create the event in the Basics step first | No event exists yet. | Press Go to Basics, complete it and press Continue. |
| A step tile is greyed out and does nothing | You have not reached that step yet. | Move forward with Continue, or deep-link to a step you have already visited. |
| The Discard unsaved changes? dialog appears | Something in the current step has unsaved changes. | Stay to keep working, or Leave to throw them away deliberately. |
| The event does not appear on the All Events list | The event is a draft and the list is filtered to published events. | Open it from the wizard's Review step, or switch the list's status filter to drafts. |
Related tasks
- Dates, timezone and location — the four scheduling fields on Basics, in detail
- Event visibility — what the Privacy switch actually hides
- Draft, review and publication — the checklist, what stops publishing, and Publish event
- Packages and tickets — what each package includes and what it costs
- Edit event content — everything the wizard does not ask for
- The public event page and sharing — the page attendees see once the event is published